Lab 3 Stateful Nodes
In this Lab we will import the standalone EC2 instance that we created during the prerequisites into Elastigroup Stateful. The import process will seamlessly read the metadata of your current running instance, automatically begin backing up both the root and data volumes and give you the ability to persist the private IP instance while running on Spot instances. We will create a wordpress website, create some content and then immediately simulate an interruption to see if the data persists.
Within the Elastigroup Dashboard, navigate to the Stateful Nodes category. Select Create New Node from the top right of your screen, Create a new stateful node from an existing instance. Select the region you pre-created the standalone instance in, and paste the Instance Id.
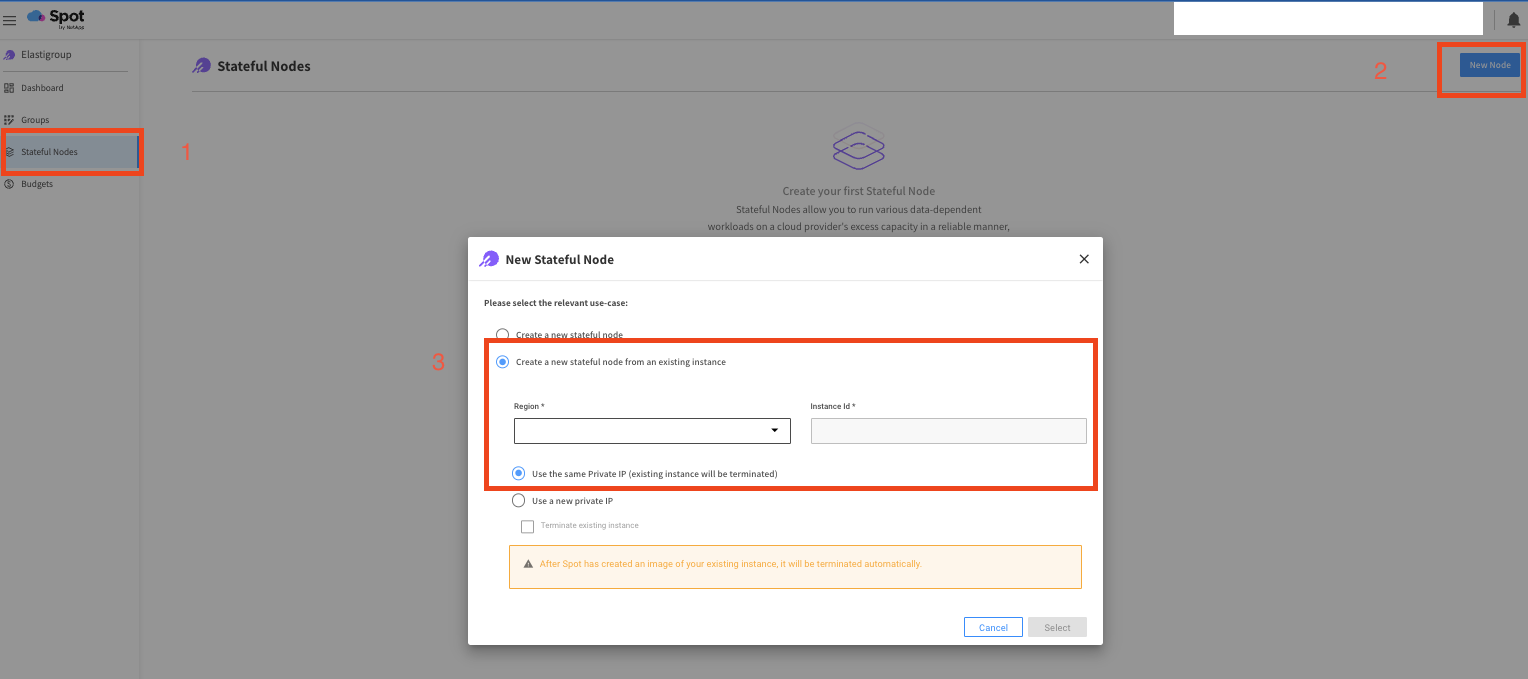
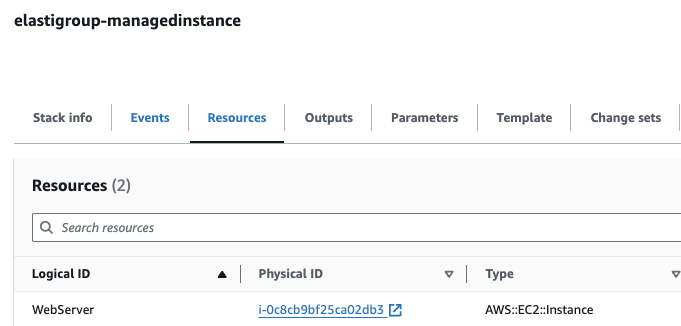
You can reference your Cloudformation template from earlier under the resources tab to find your Instance Id.
Once Elastigroup reads the metadata, it will bring you to a review screen of what you will be importing. Verify the information, VPC, instance Id, etc. is the instance you want to import and click on create.
Once you click create, Elastigroup will automatically begin creating underlying snapshots and a new AMI of the running instance. We will then use these and the network interface to launch a new instance managed by Elastigroup.
When you first create the Elastigroup stateful node, expect the process to take ~10 minutes. During this time the Elastigroup Stateful node will appear in a paused state. Once the new images are created, Elastigroup will automatically launch a new instance and terminate an old one.
Miss a step? Follow along the recording import process below:
Once your Stateful node is created, navigate back to the Overview page within Elastigroup and locate the public DNS name. Paste the DNS name of the running node into your browser and include /wordpress after it. For exmaple, my dns name was:
ec2-54-234-119-84.compute-1.amazonaws.com I will add /wordpress after this to get ec2-54-234-119-84.compute-1.amazonaws.com/wordpress
This will bring us to a quick setup wizard for Wordpress. Go through the wizard, create a username/password as requested and log into the administrative panel.
Now we can login to Wordpress and create a post as shown below. Following this we will immediately “Recycle” the instance within Elastigroup to simulate a Spot interruption. Behind the scenes this will ensure we launch a replacement instance using the latest backups and our latest post from Wordpress should be visible when a new instance comes up.
Once you complete the recycle process within Elastigroup, you will notice we have a new instance ID and public DNS name from Elastigroup.
Elastigroup Stateful also provides the ability to persist a public IP. So if your application depends on a static IP, you can configure Elastigroup to persist your Public IP.
Paste the DNS name of the running node into your browser and include /wordpress after it. For exmaple, my dns name was:
ec2-54-234-119-84.compute-1.amazonaws.com I will add /wordpress after this to get ec2-54-234-119-84.compute-1.amazonaws.com/wordpress
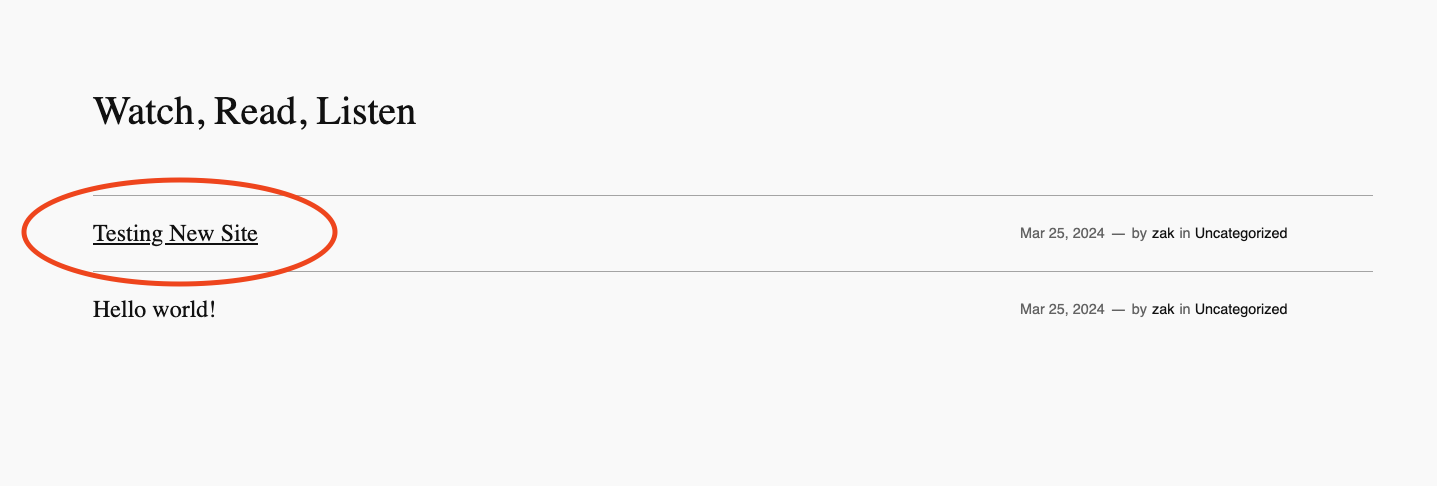
Once you navigate to this link, we will see the “Public” wordpress website version since we already configured the backend of Wordpress previously. If I scroll down I will see my post that I configured just prior to simulating a Spot interruption.
Success! We’ve completed an end-to-end test of Elastigroup Stateful nodes.
Let’s recap everything we just did:
- Import an existing instance using Elastigroup Stateful node
- Configure Elastigroup to persist the private IP, root and data volumes automatically
- Create a wordpress website, create new content stored locally on the instance
- Immediatley simulate a Spot interruption, verify the data persisted on the new instance.