Headroom Lab
In order to demonstrate the headroom effect on POD scheduling time, we are going to create two different VNGs, one with manual headroom capacity and one without, following that, we will run two new deployments on the cluster, each one will be directed to a different VNG, we’ll see that the one direct toward the VNG with the headroom capacity will be scheduled much sooner if not immediate while the other one will be pending for a while.
Follow the same VNG creation process, this VNG will be created with some manual Headroom.
Specify example-3-1 as the Name of the new VNG, under the Node Selection section specify the following Node Labels (formatted as key: value):
- env: ocean-workshop
- example: 3-1

Scroll down and open the Advanced section, and find the Headroom configurations area
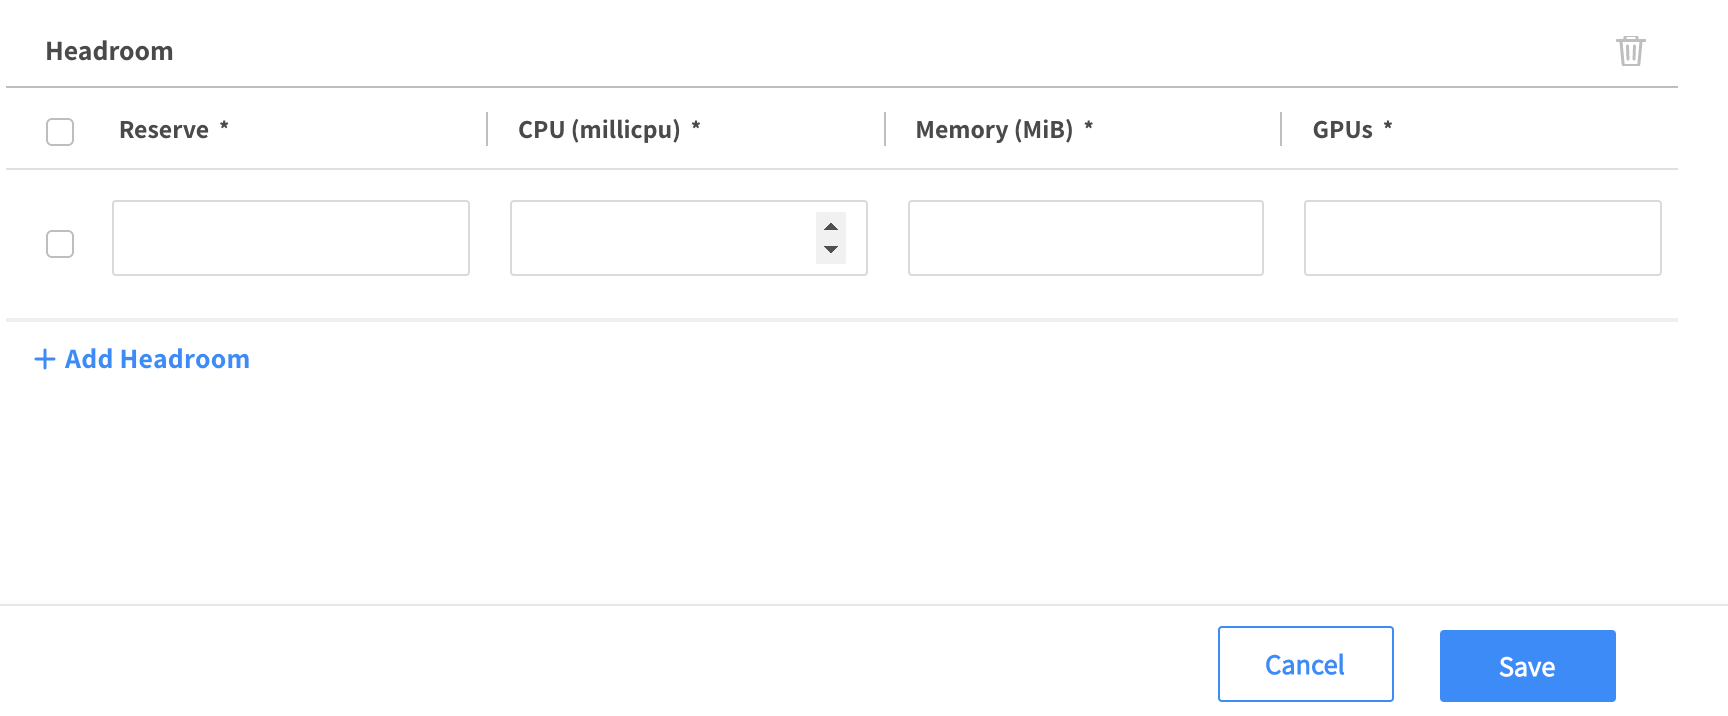
Specify the following Headroom capacity and click the Save button
Reserve: 3
CPU: 100
Memory: 256
GPU: 0
Now let’s create another VNG, this one without any Headroom capacity.
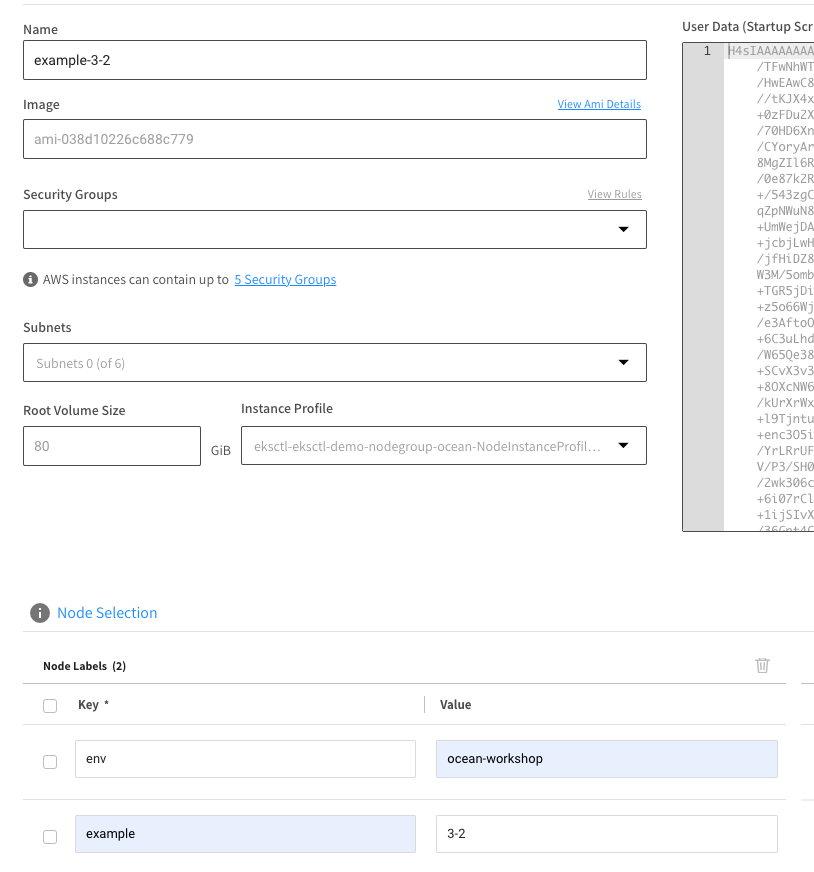
Specify example-3-2 as the Name of the new VNG, under the Node Selection section specify the following Node Labels (formatted as key: value):
- env: ocean-workshop
- example: 3-2
Create a file headroom-example.yaml with the following content:
apiVersion: apps/v1
kind: Deployment
metadata:
  name: example-3-1
spec:
  selector:
    matchLabels:
      app: nginx
  replicas: 3
  template:
    metadata:
      labels:
        app: nginx
    spec:
      containers:
      - name: nginx-dev
        image: nginx
        resources:
          requests:
            memory: "100Mi"
            cpu: "256m"
      nodeSelector:
        example: 3-1
---
apiVersion: apps/v1
kind: Deployment
metadata:
  name: example-3-2
spec:
  selector:
    matchLabels:
      app: nginx
  replicas: 3
  template:
    metadata:
      labels:
        app: nginx
    spec:
      containers:
      - name: nginx-dev
        image: nginx
        resources:
          requests:
            memory: "100Mi"
            cpu: "256m"
      nodeSelector:
        example: 3-2
The first directed to the VNG labeled with the env: test1 node label and the second directed to the VNG labeled with the env: test2 label.
Apply the file to the cluster, run kubectl apply -f headroom-example.yaml
➜  kubectl apply -f headroom-example.yaml
deployment.apps/example-3-1 created
deployment.apps/example-3-2 created
Run kubectl get pods,nodes -o wide
We’ll now see the Pods from the first deployment (example-3-1) are scheduled and running while the Pods from the second deployment still do not (example-3-2)
➜  kubectl get pods,nodes
NAME                               READY   STATUS    RESTARTS   AGE
pod/example-1-7f8b5549bb-xnsfq     1/1     Running   0          111m
pod/example-2-1-64d9d4877d-rv2pg   1/1     Running   0          63m
pod/example-2-2-7d55b5b8cf-dfkpw   0/1     Pending   0          63m
pod/example-3-1-7c8db8d4cc-4njwh   1/1     Running   0          9s
pod/example-3-1-7c8db8d4cc-ldj8z   1/1     Running   0          9s
pod/example-3-1-7c8db8d4cc-x6wwg   1/1     Running   0          9s
pod/example-3-2-c47d8b56d-fc79p    0/1     Pending   0          7s
pod/example-3-2-c47d8b56d-hnq25    0/1     Pending   0          7s
pod/example-3-2-c47d8b56d-lcr4r    0/1     Pending   0          7s

NAME                                                STATUS   ROLES    AGE     VERSION
node/ip-192-168-24-193.us-west-2.compute.internal   Ready    <none>   62m     v1.19.6-eks-49a6c0
node/ip-192-168-46-105.us-west-2.compute.internal   Ready    <none>   3h15m   v1.19.6-eks-49a6c0
node/ip-192-168-70-3.us-west-2.compute.internal     Ready    <none>   28m     v1.19.6-eks-49a6c0
A couple of minutes later we can see that the Pods from the second Deployment have also been scheduled
➜ kubectl get pods,nodes                                                                                                                                                                                                                    21/06/14 | 15:40:02
NAME                               READY   STATUS              RESTARTS   AGE
pod/example-1-7f8b5549bb-xnsfq     1/1     Running             0          112m
pod/example-2-1-64d9d4877d-rv2pg   1/1     Running             0          64m
pod/example-2-2-7d55b5b8cf-dfkpw   0/1     Pending             0          64m
pod/example-3-1-7c8db8d4cc-4njwh   1/1     Running             0          112s
pod/example-3-1-7c8db8d4cc-ldj8z   1/1     Running             0          112s
pod/example-3-1-7c8db8d4cc-x6wwg   1/1     Running             0          112s
pod/example-3-2-c47d8b56d-fc79p    0/1     ContainerCreating   0          110s
pod/example-3-2-c47d8b56d-hnq25    0/1     ContainerCreating   0          110s
pod/example-3-2-c47d8b56d-lcr4r    0/1     ContainerCreating   0          110s

NAME                                                STATUS   ROLES    AGE     VERSION
node/ip-192-168-17-86.us-west-2.compute.internal    Ready    <none>   52s     v1.19.6-eks-49a6c0
node/ip-192-168-24-193.us-west-2.compute.internal   Ready    <none>   63m     v1.19.6-eks-49a6c0
node/ip-192-168-46-105.us-west-2.compute.internal   Ready    <none>   3h17m   v1.19.6-eks-49a6c0
node/ip-192-168-70-3.us-west-2.compute.internal     Ready    <none>   30m     v1.19.6-eks-49a6c0